Building Signature Workflows with MitID Erhverv

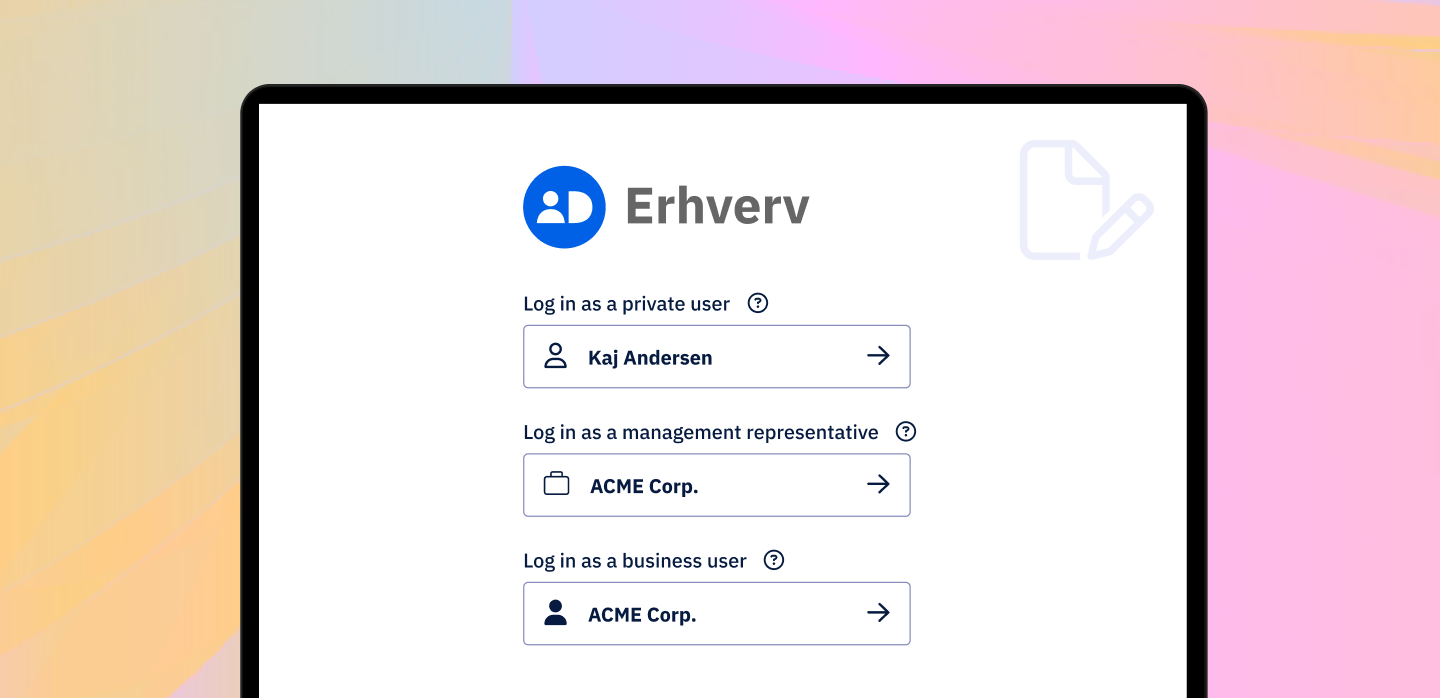
The new MitID Erhverv (“MitID for business”) gives employees a secure and convenient way to handle various digital tasks on behalf of their organizations. This includes reading digital mail, reporting maternity leave and illnesses, and accessing public services.
But it doesn’t end there!
Imagine the added convenience of using MitID Erhverv for organization-wide digital document signing with eID verification.
With Criipto Signatures, organizations can create custom signature workflows that let employees sign a wide range of PDF documents such as contracts, forms, agreements, invoices, and receipts.
In today’s blog post, we’ll explore how to build a custom signature workflow for your business use case with Criipto Signatures API and MitID Erhverv. We’ll guide developers on enabling business logins and personalizing the signature seal in applications powered by our product. Finally, we’ll show a visual example of a business user’s signing experience and the resulting signature seal with customized content.
If you want to make signing digital documents a smooth and efficient experience for your entire organization, keep on reading.
Setting up a signature workflow: prerequisites and structure
To set up a signature workflow for MitID Erhverv business users, we need:
- A Criipto Signatures application
- A suitable development environment, a sample application, or a code sandbox where you can incorporate our Signatures API. If you’re following along, you can also simply play around with this interactive tour in our docs.
To set up a signature workflow, we need to follow these steps in order:
- Create a signature order
- Add signatories
- Signatories sign the documents
- Close signature order
To tailor the workflow for MitID Erhverv users, we’ll make the following adjustments to the first and second steps:
- When creating a signature order, we’ll enable business logins for our application.
We’ll also change the identifier on the signature seal to show the company CVR. - When adding a signatory, we’ll customize the contents of the signature seal with the organization's name.
Curious to see how it's done? Let's take a look at the code.
We'll provide code examples for Node.js. But don't worry if you're using a different programming language: you can refer to our documentation for the GraphGL and .NET code snippets.
Enabling business logins with MitID
To enable business logins, we’ll modify the Criipto Verify evidence provider setting by adding the a loginHint variable when creating a signature order:
import CriiptoSignatures from '@criipto/signatures';

const client = new CriiptoSignatures('{YOUR_CRIIPTO_CLIENT_ID}', '{YOUR_CRIIPTO_CLIENT_SECRET}');

// Create signature order
const signatureOrder = await client.createSignatureOrder({
  title: 'Sample Signature Order',
  documents: [
    {
      pdf: {
        title: 'Sample Agreement',
        blob: Buffer.from('...'),
        storageMode: 'Temporary',
      },
    },
  ],
  evidenceProviders: [
    {
      criiptoVerify: {
        acrValues: ['urn:grn:authn:dk:mitid:business'],
        loginHint: 'business_optional',
      },
    },
  ],
});
loginHint: "business_optional" allows users to choose between logging in as a private individual or a business user (if registered in CVR) when they’re ready to sign.
If you only require business logins, you can omit the loginHint: "business_optional", and just use the appropriate acr_values.
Configuring signature appearance to show company CVR
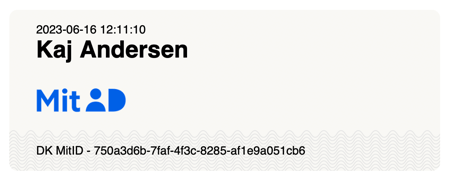
Here is what the signature seal might look like once the document has been signed with MitID:

By default, the identifier on the bottom of the seal shows a GUID. This can be reconfigured by changing the signatureAppearance input object when creating a signature order.
The example below demonstrates how you can change the identifier to show the company CVR number instead.
// Create signature order
const signatureOrder = await client.createSignatureOrder({
  title: 'Sample Signature Order',
  documents: [
    {
      pdf: {
        title: 'Sample Agreement',
        blob: Buffer.from('...'),
        storageMode: 'Temporary',
      },
    },
  ],
  signatureAppearance: {
    identifierFromEvidence: ['cvrNumberIdentifier'],
  },
});
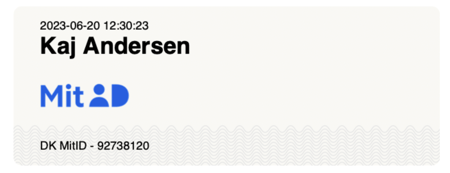
And here is the resulting seal containing the company CVR number:

Customizing the signature seal display name
By default, the signature seal renders a name using the standard JWT name claim. This can be customized for each person signing the documents when you add a signatory. There are two options:
- Overriding the name completely, OR
- Creating a new name syntax from available claims
The following example shows how you could render a company name along with the username (and fallback to a non-business scenario):
// Add signatory
var signatory = await client.addSignatory(signatureOrder.id, {
  signatureAppearance: {
    identifierFromEvidence: [],
    displayName: [
      {
        template: '{(name}} of {}',
        replacements: [
          {
            placeholder: 'name',
            fromEvidence: ['name', 'http://schemas.xmlsoap.org/ws/2005/05/identity/claims/name'],
          },
          {
            placeholder: 'company',
            fromEvidence: ['2.5.4.10'],
          },
        ],
      },
      {
        template: '{(name}}',
        replacements: [
          {
            placeholder: 'name',
            fromEvidence: ['name', 'http://schemas.xmlsoap.org/ws/2005/05/identity/claims/name'],
          },
        ],
      },
    ],
  },
});
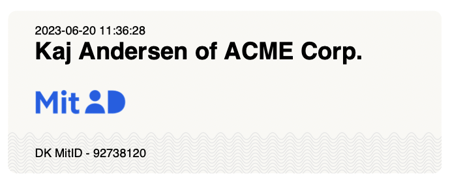
With this change, when an employee signs the document, the seal will contain both their name and the name of the company, in the format we just defined.
And there you have it!
The signature workflow can now be used in combination with MitID Erhverv to sign documents in a paperless, secure, and convenient way.
Watch the video below to see an employee’s signing experience when their organization is leveraging this new business login solution:
Criipto Signatures lets you effortlessly build solutions for signing PDF documents using a range of national eIDs, including the Danish MitID Erhverv and many more.
You can easily integrate Criipto Signatures into your application in a way that’s guaranteed to comply with existing regulations like GDPR and the more recent Schrems II court ruling.
Read more about MitID Erhverv and digital signatures on our product page.


